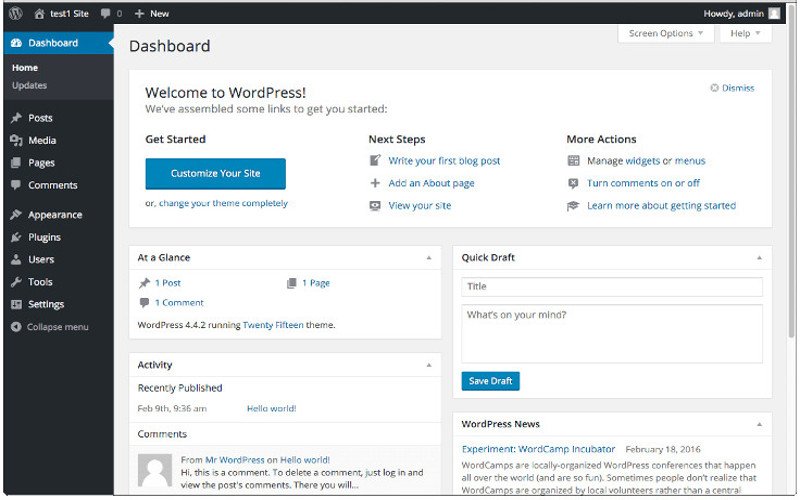
Adding widgets to your dashboard can increase the functionality of any WordPress installation. Whether you’re doing it for yourself or your clients, it can go a long way toward creating an experience that’s fully customized, spotlighting the functions you use the most.
To get started simply add the following code to your WordPress child theme’s functions.php file:
function add_custom_dashboard_widgets() {
wp_add_dashboard_widget(
'wpexplorer_dashboard_widget', // Widget slug.
'My Custom Dashboard Widget', // Title.
'custom_dashboard_widget_content' // Display function.
);
}
add_action( 'wp_dashboard_setup', 'add_custom_dashboard_widgets' );
/**
* Create the function to output the contents of your Dashboard Widget.
*/
function custom_dashboard_widget_content() {
// Display whatever it is you want to show.
echo "Hello there, I'm a Dashboard Widget. Edit me!";
}/
Now, just edit the “Hello there, I’m a Dashboard Widget. Edit me here” to whatever you wish. You can do everything from a simple text-based message to a full WordPress plugin’s widget, though the latter can be more complicated to implement and would require hard-coding that plugin’s widget.
Once you’re done editing, you can visit your WordPress Dashboard and move your new widget wherever you see fit.
For Advanced users only. Please utilize the code only if you know what you’re doing or have your web administrator do it for you. This site is not responsible for any liability caused by incorrect usage of this code or your web server.

